Showing posts with label draw. Show all posts
Showing posts with label draw. Show all posts
Thursday, October 23, 2014
HOW TO DRAW A SQUID IN MS WORD PART 3
MICROSOFT WORD DRAWING PROJECT No. 19 PART 3
TITLE: HOW TO DRAW A SQUID IN MS WORD
TYPE: FINE ART – LINE DRAWING
(C) THE DISSECTED DRAWING OF THE SQUID
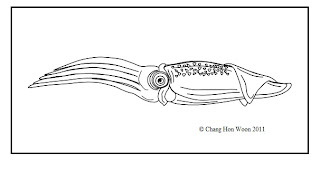
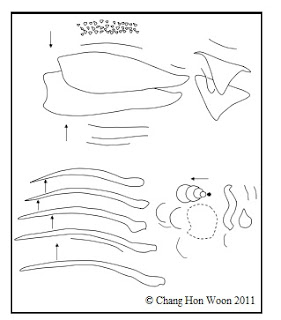
Can you count how many drawing objects are there? Believe it or not, the squid is created by joining all the drawing objects together. By the way, the organic shape in dashed line is used for masking. In my next post I’ll show readers how to create a fine art digital drawing composition with this subject.

Monday, September 29, 2014
HOW TO DRAW A RETORT STAND WITH MS WORD
MICROSOFT WORD DRAWING PROJECT No. 6
TITLE : TWO-DIMENSIONAL RETORT STAND WITH TEST TUBE
TYPE : DIAGRAM / ILLUSTRATION
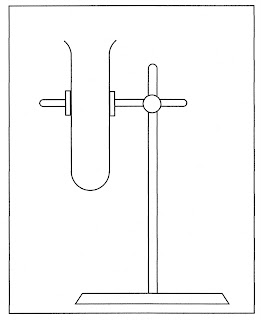
You can draw the 2-D diagram of a retort stand easily by using 4 drawing objects from the Drawing toolbar. The drawing objects needed to create the diagram are as follows: Rounded Rectangle, Trapezoid, Oval, and Rectangle.
1/3
THE RETORT STAND
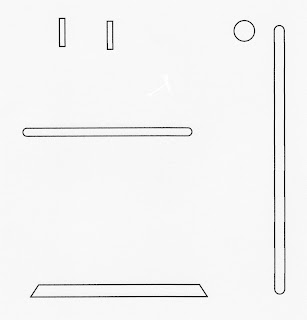
See, how easy it is!
2/3
THE TEST TUBE
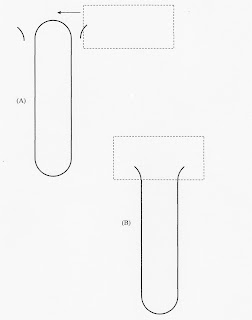
Click Line Color > White to hide the Rectangle’s outline and the result you can see on top.
3/3
HOW TO DRAW AN APPLE IN MS WORD PART 1
MICROSOFT WORD DRAWING PROJECT No. 36
TITLE: HOW TO DRAW AN APPLE IN MS WORD PART 1
TYPE: DIGITAL DRAWING
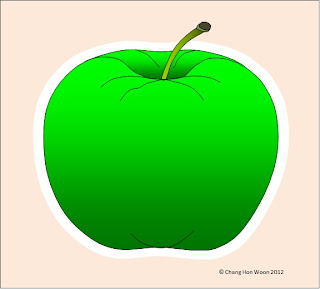
This delicious looking green apple was drawn with the Curve line tool. The drawing was then filled with Gradient effects to enhance its appearance. This drawing shows the front view of the apple. It has been a known fact that eating green apples can keep you healthy. Its sugar content is lower too. Why don’t you try creating a graphic design for the apron by using apple as the subject matter?
Saturday, September 27, 2014
HOW TO DRAW A FLYING WILD GOOSE IN MS WORD PART 3
MICROSOFT WORD DRAWING PROJECT No. 22 PART 3
TITLE: HOW TO DRAW A FLYING WILD GOOSE IN MS WORD
TYPE: FINE ART – DIGITAL LINE DRAWING
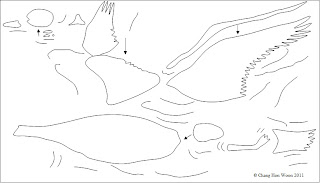
(B) THE DISSECTED DRAWING OF THE FLYING WILD GOOSE
Well, don’t you think that drawing pictures in MS Word is like assembling a toy model set? This picture of a flying wild goose is formed by joining or putting together 44 drawing objects (lines and shapes) which are stacked in relevant positions. Use the Draw > Order command in MS Word 2003 or Format > Arrange > Send to Front / Send to Back commands in MS Word 2007 to adjust the position of the lines and shapes. Don’t worry if some readers are still using Microsoft Word 97. So far, all the drawing projects that I have featured on my blog can be drawn in MS Word 97. If assembling toy model sets is fun, try this for a change. I actually got addicted to it, so to speak.
Subscribe to:
Posts (Atom)